Warm Up Your Winter The DIY Way
Ahhhh … winter has arrived. It seems we either love it or don’t care for it very much at all. Whichever way you lean, you can warm things up inside while it’s cold outside (and possibly snowy or rainy) with some fun and simple DIY projects.
Gnomes are all the rage this year (you may have seen them adorning homes all over this past Christmas season – but these fun fellas can be enjoyed all year long!) – and I have a wonderfully simple activity to create your own versions of these adorable little guys. Gather together your supplies: a foam cone (I use a 7- or 8-inch cone), chunky yarn for the hair and beard, a festive sock that represents the season (I find that fuzzy socks work best), a wooden knob for the nose, small rubber bands, scissors, and a glue gun. Cut the yarn into about 7-inch pieces and separate – each piece is made up of four strands, so you’ll have a pile. Next, glue strands of yarn all the way around the cone, starting about 2-inches from the top (be careful with the hot glue … speaking from experience, it hurts when you get it on your fingers). Pull the sock about halfway down the cone. Using your small rubber band or hair tie, gather the toe of the sock and wrap the rubber band around it, making a little “pom pom” at the top. Go back around the cone to make sure there aren’t any large spaces in the yarn. If there are, simply glue more yarn in those areas. Attach the wooden knob just below the “hat” and you are finished! This is such a fun project and you will definitely want to create a whole village of gnomes for your winter décor.
Mention the month of February and my thoughts immediately go to candy. Sure, some people think of Valentine’s Day when thinking of February, but candy is such a big part of celebrating the day of love. Since I’m talking about delicious sweets, let’s make a precious candy dish using clay pots to hold all that chocolate goodness. For this project, all you will need are the following materials: 4-inch clay pot, 3-inch clay pot saucer, a glass bubble bowl (which can be found at your favorite dollar store), a one-inch wooden dowel cap, and red and white craft paint. To kick off this craft, first paint the clay pot and saucer red, applying two or three coats (allowing the paint to dry between coats). Dip the wooden end of a small paint brush in the white paint to add polka dots around the top and bottom of the clay pot and the outer edge of the saucer. Paint the dowel cap white. Finally, it’s time to assemble your candy jar. Glue the bubble bowl to the clay pot using craft glue or any strong adhesive. Then glue the dowel cap to the bottom of the saucer to complete the lid … that’s it! Oh, except the best part – filling it with your sweetie’s favorite candy for a gift he or she can use all year long. Don’t limit yourself to making these for only Valentine’s Day – they can be crafted for any holiday, special occasion, or just for fun. Use a variety of colors and maybe adhere foam shapes that can be attached for a little extra decoration – what a great, simple, and fun project to help pass the time on a dreary, wintery day.
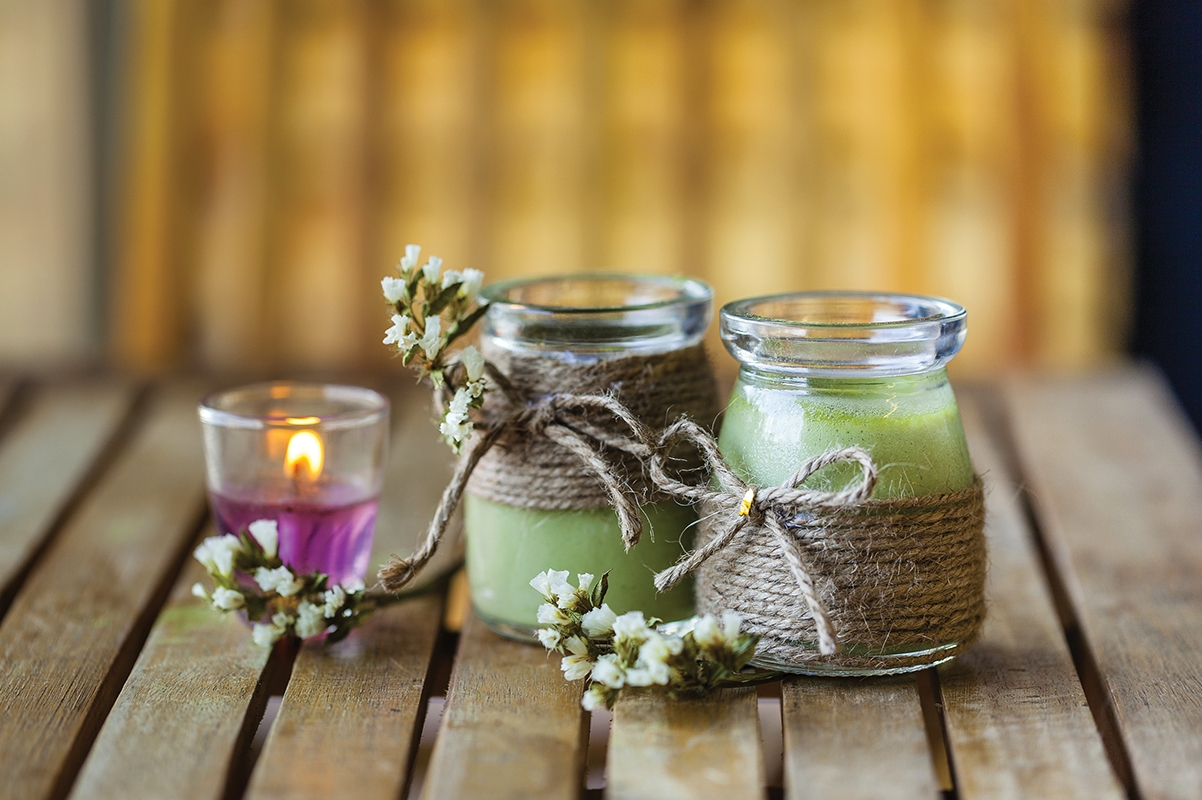
With spring’s approach, thoughts turn to Easter and Mother’s Day. Candles are great gifts for these special occasions, and they wonderfully fill your home with a sweet, springy aroma after the cold winter months. Mason jars are so very versatile, and we will use these to make an easy soy candle. For this project, gather soy wax flakes, lavender essential oil (or any scent of your choice), a large glass measuring cup, pint mason jars, and candle wicks with a metal base. Get started by gluing the candle wick to the center bottom of the mason jar. Have a wooden skewer or pencil on hand. Wrap the wick around either one of these to keep it centered. Pour three cups of soy wax flakes into the measuring cup. To melt the flakes, place the measuring cup inside a double boiler or the microwave (if using the microwave, be sure to stir the wax every 30 seconds until all of it is melted). If you find you haven’t melted enough wax, just melt a little more to fill the jar to its top. Add a tablespoon of essential oil to the wax, using a tablespoon for each candle you make. Finally, pour the wax into the jar, making sure the wick stays centered. Allow the wax to harden for several hours, or overnight, and lastly trim the wick to a quarter inch. And for added flair, wrap the jar in twine or a colorful ribbon, adhere a beautiful bloom, and just like that you have a lovely, wonderfully-scented candle that will help cure your spring fever.
Now that winter has arrived, take advantage of this time indoors by stocking up on craft supplies, snuggling in for the season, and spending these cold, snowy, rainy days creating! Here’s to having loads of fun and sharing great times with family and friends.
Dolores Riggins
Co-owner of Southern Suds & Gifts, located at 213 S. White St. in Downtown Wake Forest, featuring over 35 craftsmen and artists.